The steps below will explain how to add, edit, and delete company documents on Common Benefits Administrator.
Adding a New Document
-
From the company Home screen click Self Service and then Documents .
-
Click Add New Document .
-
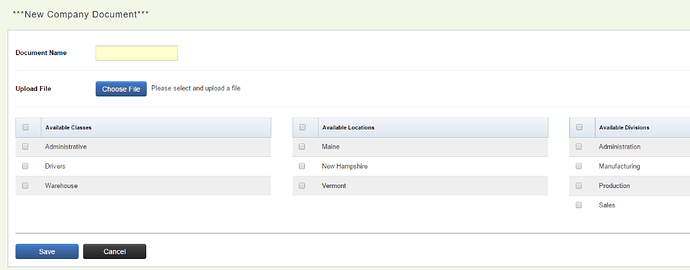
Click Choose File to select the document to add.
-
Select the classes, locations, and divisions that should have access to the document.
Note: The division field will only display if configured for the Company.
-
Enter a name for the document and then click Save to add the document.
Editing an Existing Company Document
-
From the company Home screen click Self Service and then Documents .
-
Click on the document name.
-
The document name can be changed along with the available classes, locations, and divisions.
Deleting a Company Document
-
From the company Home screen click Self Service and then Documents .
-
Click Delete next to the document name.
-
Click Yes to confirm.
