Overview
Your benefit administrator will specify a period of time that you are eligible to enroll in coverage through self-service enrollment and will provide instructions on how to access the site.
Self-service enrollment involves progressing through different screens. You will first verify your personal information, then update dependent information, and finally enroll in benefits.
Note: the information and screens that display on self-service are determined by your benefit administrator and may not match what is presented in this article.
How do I Enroll in Coverage through Self Service?
The self-service enrollment process is outlined below.
You will navigate through each screen using either a Continue or Back button located at the bottom of the screen.
![]()
Your Information Screen
The Your Information section will allow you to review your personal and demographic information.
Please make sure to update any inaccurate or incomplete information. Fields that are blank may also need to be filled in.
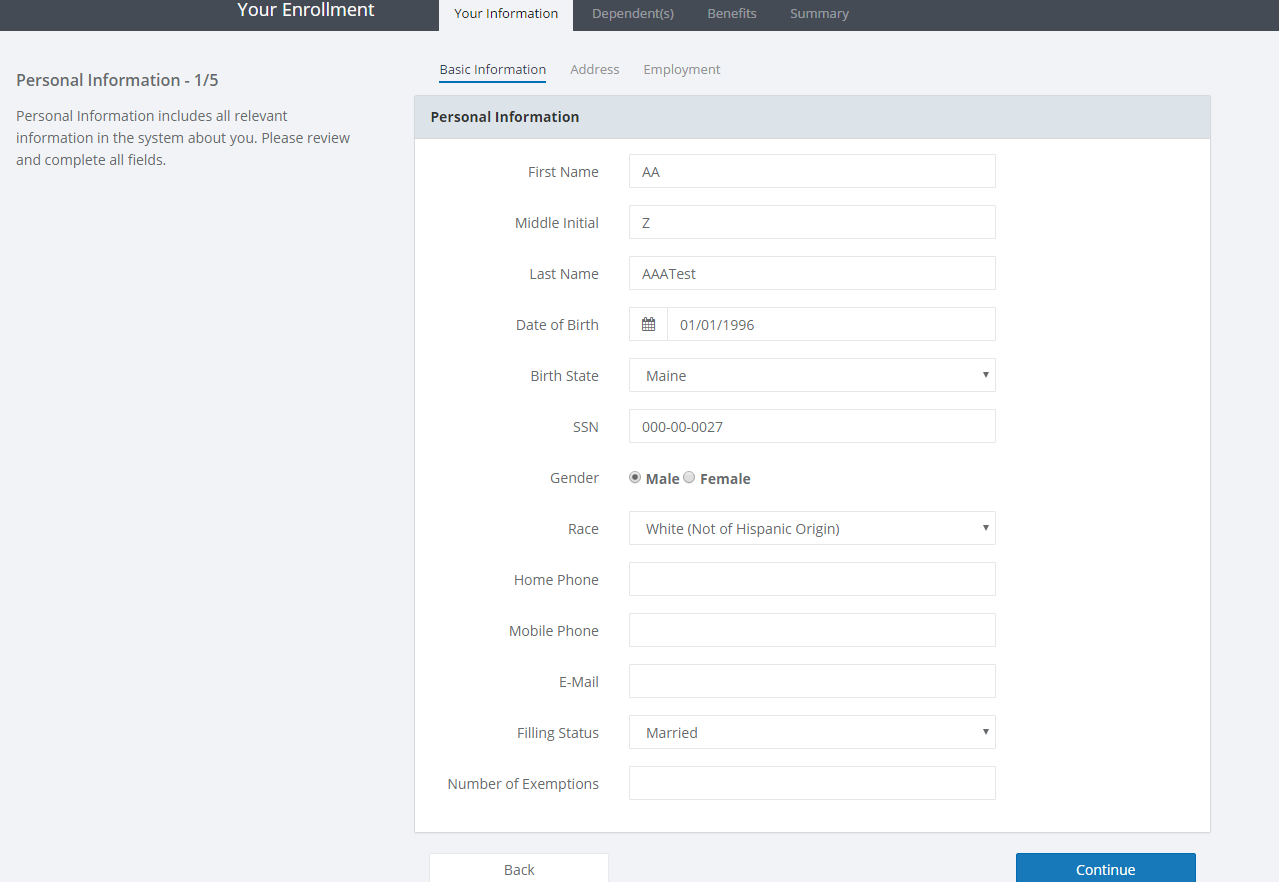
Your Information is divided into separate screens that include Basic Information, Address, and Employment. Click Continue to advance through each of these screens.
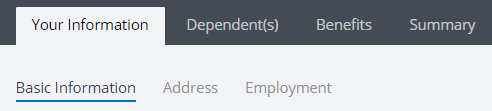
Note: you may not see the Employment screen as this section is optional and may not be required for your enrollment.
Dependent(s) Screen
The Dependent(s) screen is where you will review existing dependent records and have the option to add new dependent records.
Note: If you want to enroll your dependents in coverage, then they will first have to be setup under Dependent(s).
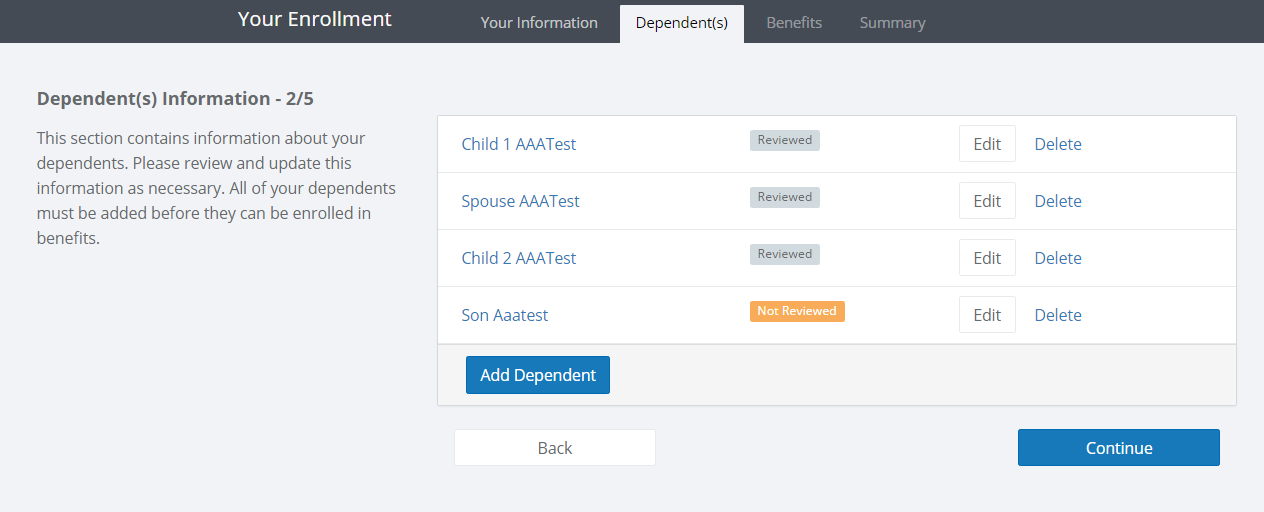
Click Edit next to the dependent name to review that dependent or click Continue to advance through each dependent. Once a dependent has been reviewed, the status next to their name will change from Not Reviewed to Reviewed .
Click Add Dependent to create a new dependent record.

You can remove dependents by clicking Delete next to their name.
Note: deleted dependents are removed from any coverage they may currently be enrolled. It is recommended you do not delete dependent records. If you are unsure if the dependent record can be safely deleted, please contact your benefit administrator for assistance.
Benefits Screen
The Benefits screen is where you will enroll or waive coverage for each benefit that is offered. All available benefits must be reviewed to complete self service enrollment.
This screen is divided into several subsections that include Available benefits, Requested & Current Benefits, and Not Available benefits.

To expand or collapse a subsection, click on the subsection’s name.
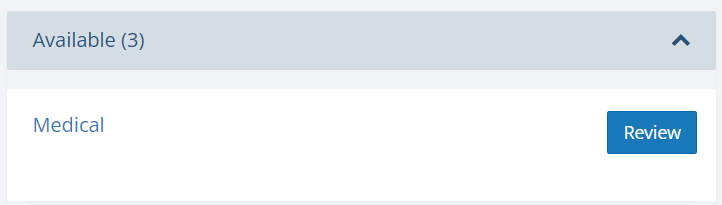
Clicking on a benefit name will display a summary screen where you may enroll in the coverage, waive the coverage, or view plan documents.
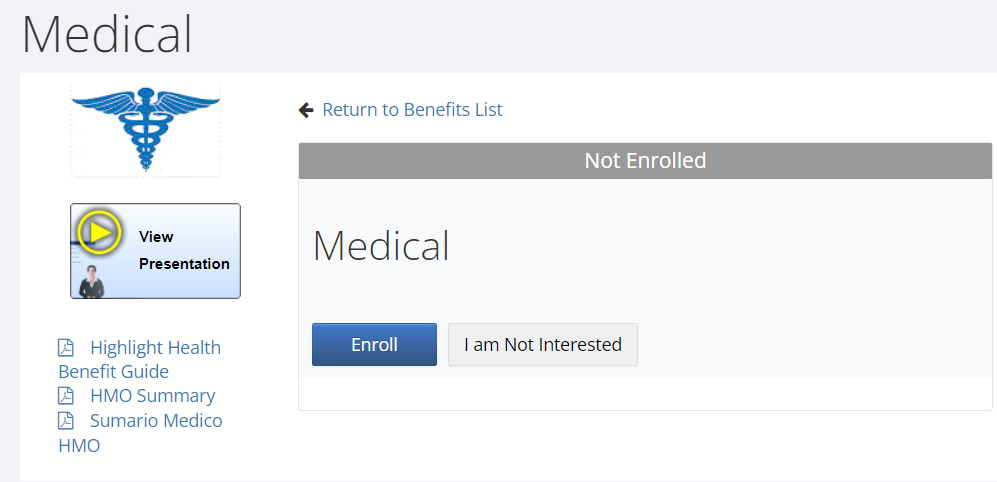
Click Enroll to apply for coverage. You will then proceed through several different screens to enroll in that coverage.
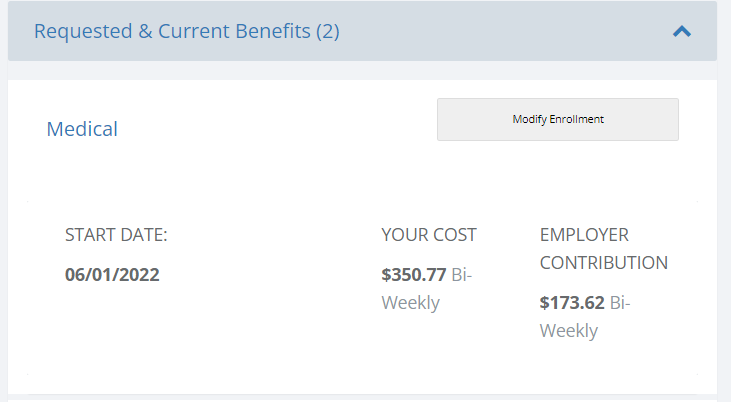
Once a benefit has been enrolled, it will move to the Requested & Current Benefits section. Click Modify Enrollment to make any changes to the benefit election.
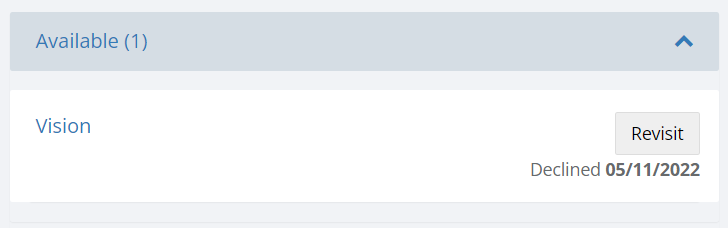
Declined benefits will still be listed under Available Benefits. Click Revisit next to the benefit name to review and/or enroll in that coverage.
Once all benefits have been enrolled or declined, click Continue to proceed to the next screen.
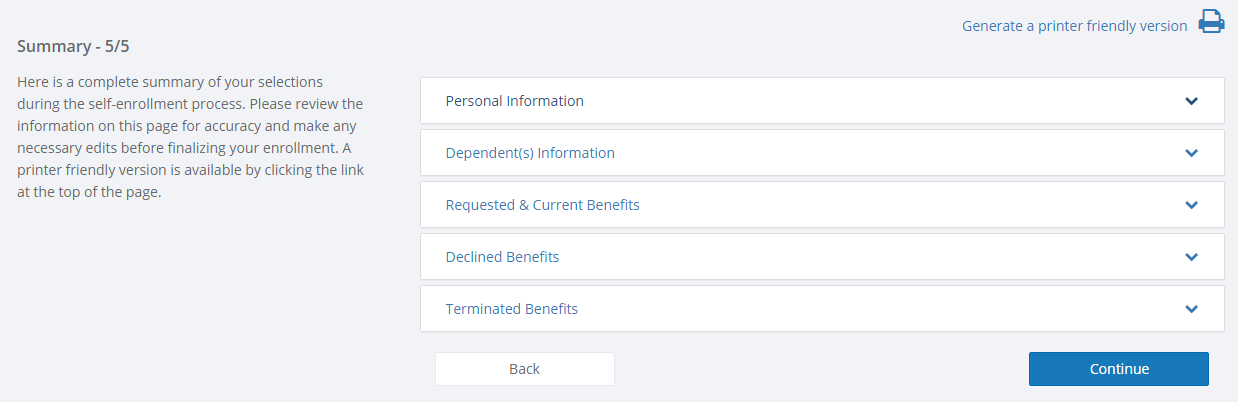
Summary/Confirmation Screen
A summary of your elections will be displayed. The layout of this screen will vary depending on how your benefit administrator configured the settings. Click Continue to proceed to the final screen.
Note: you may be required to click Accept and Sign at the bottom of the screen to confirm your elections. The final screen will then display after clicking Accept & Sign
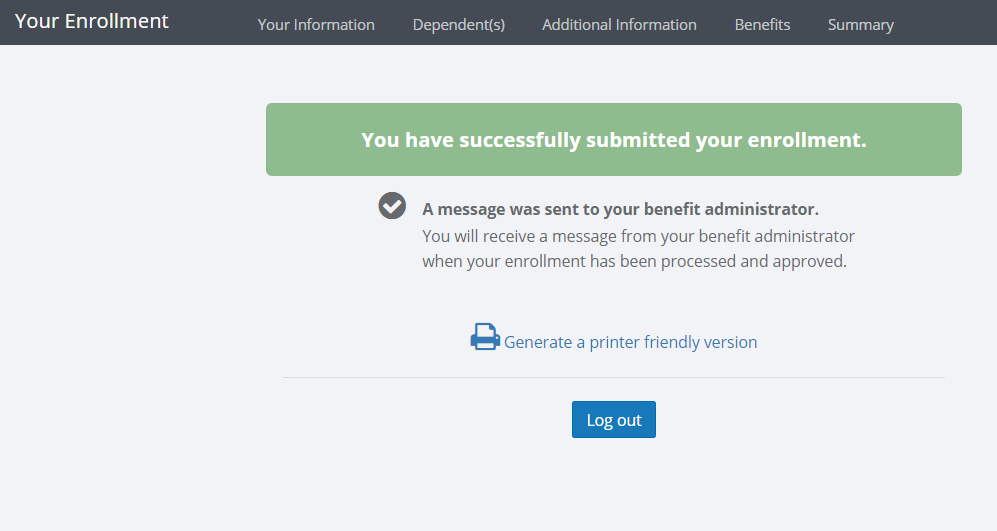
Submit Enrollment
Click Finish and Logout to complete your self service enrollment. Depending on how your Benefit Administrator has configured the enrollment, you may also print a summary and/or confirmation form of your benefit elections.
You may log back onto self-service at any time during the enrollment period to update your elections.